Most people connect Cloudflare to their domain and then do nothing. The default settings protect almost nothing and speed up nothing. Attackers still reach your login page. Bots still submit spam comments. Your server still handles every request.
This guide covers the exact settings we configure for every client website on Cloudflare. Follow these steps once and your site will be harder to attack, faster to load, and cleaner to run.
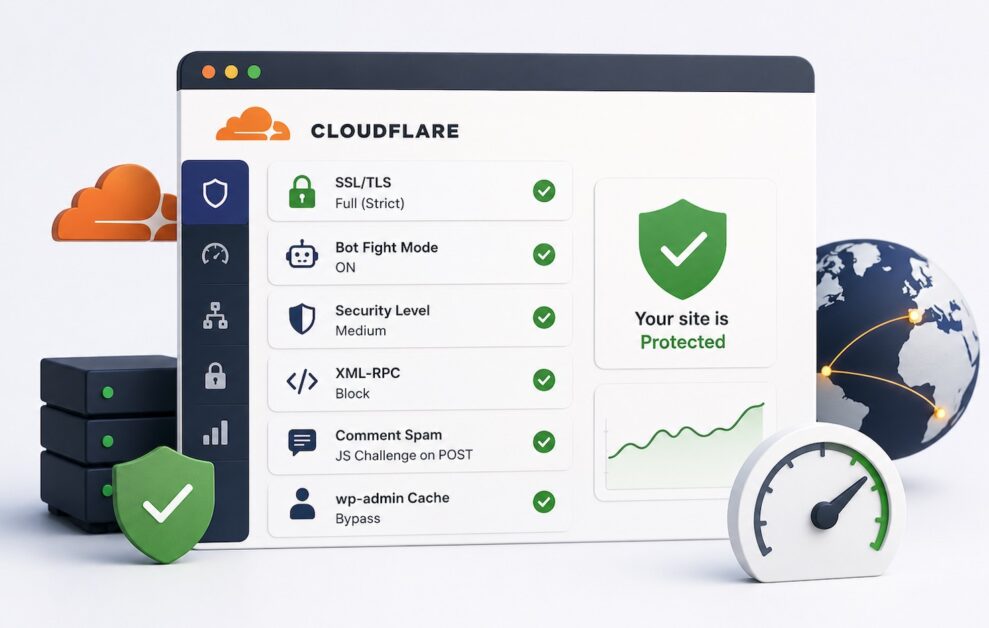
| Setting | Recommended Value | Purpose |
|---|---|---|
| SSL/TLS Mode | Full (Strict) | Prevents traffic interception between Cloudflare and your server |
| Bot Fight Mode | ON | Blocks known bad bots before they reach your site |
| Security Level | Medium | Balances user experience with threat protection |
| XML-RPC | Block | Removes a major brute-force attack vector |
| Comment Spam | JS Challenge on POST | Stops bots from submitting spam comments |
| wp-admin Cache | Bypass | Prevents admin panel serving from cache |
Table of Contents
What Cloudflare Does (and What It Does Not Do)
Cloudflare sits between visitors and your hosting server. Every request passes through Cloudflare before it reaches your site. Cloudflare handles DNS, CDN delivery, DDoS protection, firewall rules, caching, and SSL.
It does not replace your hosting security. Your server still needs strong passwords, limited login attempts, and updated software.
The free plan covers everything in this guide. The Pro plan ($20/month) adds more firewall rules and detailed analytics. For most small business websites, the free plan is enough.
Step 1 — SSL/TLS Settings
Set your SSL mode to Full (Strict). Not “Flexible.” Flexible mode sends unencrypted traffic between Cloudflare and your server, which defeats the purpose of SSL entirely.
Full Strict requires a valid SSL certificate on your hosting server. Most hosts provide this free through Let’s Encrypt. Check your hosting control panel and confirm the certificate is active before switching.
Four settings to enable under SSL/TLS:
- Full (Strict) mode — Go to SSL/TLS → Overview. Set the mode to Full (Strict).
- Always Use HTTPS — Under SSL/TLS → Edge Certificates. Redirects all HTTP traffic to HTTPS automatically.
- Automatic HTTPS Rewrites — Same section. Fixes mixed content warnings where page elements still load over HTTP.
- HSTS — HTTP Strict Transport Security. Set a max-age of at least 6 months (15768000 seconds). This tells browsers to always connect via HTTPS, even before the first request.
If you switch from Flexible to Full Strict and your site shows an error, the problem is on your hosting side — check your origin SSL certificate. Once the certificate is confirmed, Full Strict works without issues.
Step 2 — Security Level Settings
Five settings to adjust under Security:
- Security Level — Set to Medium. High triggers too many false positives and challenges real visitors. If your site comes under a surge of bot traffic, switch to High temporarily — then return to Medium once traffic normalises. “Under Attack Mode” is for active DDoS attacks only — turn it on during an attack, turn it off when the attack ends.
- Bot Fight Mode — Turn ON. Free plan includes this. Cloudflare detects and challenges known bots before they reach your server.
- Browser Integrity Check — Turn ON. Blocks requests from browsers with suspicious or missing headers. Most legitimate visitors are unaffected.
- Email Address Obfuscation — Turn ON. Hides your email addresses in the page source from scrapers. Visitors still see and interact with your email links normally.
- Hotlink Protection — Turn ON if you host images on your site. Prevents other sites from embedding your images directly and consuming your bandwidth.
Step 3 — Block WordPress Login Attacks
This is the most important section for WordPress sites. The /wp-login.php file and /wp-admin/ directory face constant brute force attacks. Bots run through thousands of username and password combinations looking for an entry point.
Three WAF custom rules address this. Go to Security → WAF → Custom Rules → Create Rule.
Rule 1: Protect wp-login.php
- Rule name: Block WP Login Brute Force
- Field: URI Path
- Operator: contains
- Value: /wp-login.php
- Action: Managed Challenge
Managed Challenge shows a Cloudflare verification screen to suspicious visitors and blocks bots automatically. Legitimate users pass through with a single click or no interruption.
Rule 2: Block xmlrpc.php
XML-RPC is an old WordPress feature few sites need today. Attackers use it to run brute force attempts against your login credentials without touching the standard login page.
- Rule name: Block XMLRPC
- URI Path contains: /xmlrpc.php
- Action: Block
Block returns an immediate error to any request on this path. If you use a plugin or service such as Jetpack requiring XML-RPC, check before applying this rule.
Rule 3: Restrict wp-admin to your IP (optional)
If you always log in from the same IP address, lock down the admin area entirely.
- URI Path contains: /wp-admin
- AND IP Source Address is not: [your IP address]
- Action: Block
Before applying this rule: Confirm your IP address is static. Most home internet connections use a dynamic IP address — one that changes periodically. If your IP changes after this rule goes live, you will lock yourself out of WordPress. Check with your internet provider or use a static IP service before enabling this rule. If unsure, skip it and rely on Rules 1 and 2 instead.
The free Cloudflare plan includes 5 custom WAF rules. Use three on the rules above. The remaining two are for comment spam.
Step 4 — Block Comment Spam
WordPress comment spam comes from bots. Bots do not process JavaScript. A JS Challenge stops them at the network level before the request reaches your server.
Rule: Challenge comment submissions
- Rule name: Block Comment Spam
- URI Path contains: /wp-comments-post.php
- AND Request Method equals: POST
- Action: JS Challenge
This eliminates the majority of comment spam. The bot fails the JavaScript challenge and the request never reaches WordPress.
This rule targets /wp-comments-post.php specifically. It does not affect contact forms built with plugins like Contact Form 7 or Elementor Forms, which submit to different endpoints. If your contact form stops working after any WAF change, check which URL path the form submits to and confirm your rule does not cover it.
Rate Limiting (additional protection)
Rate limiting restricts how many requests a single IP address sends in a given time window.
- Go to Security → WAF → Rate Limiting Rules
- Path: /wp-comments-post.php
- Limit: 3 requests per IP per 5 minutes
- Action: Block for 1 hour
Rate limiting on the free plan has restrictions. The Pro plan gives more control over thresholds and action duration. Even the free tier rate limiting reduces spam noticeably on high-traffic sites.
Step 5 — Block Bad Bots and Scrapers
Bot Fight Mode (enabled in Step 2) handles known bad bots. For scrapers and content thieves not covered by Bot Fight Mode, add a custom WAF rule.
Rule: Block known scraper user agents
- Field: User Agent
- Operator: contains
- Value: AhrefsBot OR SemrushBot OR MJ12bot OR DotBot
- Action: Block
Blocking these tools stops competitors from crawling your pricing pages, service descriptions, and case studies. It does not affect Google or Bing. Cloudflare classifies search engine crawlers separately as verified bots — your custom rules do not apply to them.
For AI training bots such as GPTBot and ByteSpider, Cloudflare’s Super Bot Fight Mode handles these on the Pro plan. On the free plan, add them to your custom user agent rule above.
Check Cloudflare Radar to see which bots are most active on the internet. It is free and requires no account.
Free Plan: Which Rules to Prioritise
The free Cloudflare plan allows 5 custom WAF rules. This guide recommends up to 6 rules (3 login rules, 1 comment spam, 1 bad bots, 1 country blocking). If you need to stay on the free plan, apply them in this order and stop when you reach the limit:
- Block /xmlrpc.php — highest security risk, no legitimate use for most sites
- Managed Challenge on /wp-login.php — highest volume attack vector
- JS Challenge on /wp-comments-post.php — eliminates most comment spam
- Block bad bot user agents — stops content scrapers
- Country blocking — only add if you have clear geographic business constraints
The optional Rule 3 (wp-admin IP restriction) is not on this list unless your IP is confirmed static. On the free plan, skip country blocking if needed — it is the lowest-priority rule for most sites.
Step 6 — Caching and Performance
Five caching settings to configure:
- Caching Level — Set to Standard. Cloudflare caches static files (images, CSS, JS) at edge servers close to your visitors. Return visitors load these files from a nearby server rather than your origin host.
- Browser Cache TTL — Set to at least 4 hours. This tells visitors’ browsers to cache static files locally and reduces repeat load times.
- Auto Minify — Enable for CSS and JavaScript. Removes whitespace from code files to reduce their size. Do not enable HTML minify on a dynamic WordPress site — it breaks certain plugins and theme features.
- Rocket Loader — Test before enabling permanently. Rocket Loader defers JavaScript loading to improve initial page render time, but it conflicts with WooCommerce and some sliders. Enable it on a test page first and check for broken elements.
- Polish (Pro plan only) — Compresses images and converts them to WebP automatically. On the free plan, compress and convert images before upload instead.
Install the official Cloudflare WordPress plugin (wordpress.org/plugins/cloudflare). It lets you purge the Cloudflare cache directly from your WordPress dashboard after publishing changes. Without it, you need to log into Cloudflare separately to clear the cache every time you update your site.
The plugin handles automatic cache management but does not replace the WAF rules in Steps 3, 4, and 5. Those rules live in your Cloudflare dashboard and need to be set manually, regardless of whether the plugin is installed.
Step 7 — Page Rules vs. Cache Rules
Cloudflare deprecated Page Rules in 2024. Cache Rules and Configuration Rules now replace them. If you set up Page Rules years ago, they still work — migrate them to Cache Rules when you next update your configuration.
One Cache Rule every WordPress site needs:
Bypass cache for the WordPress admin area and logged-in users.
- URL path contains: /wp-admin
- Cache Status: Bypass
Without this rule, Cloudflare serves a cached version of your dashboard to different users. This causes broken admin navigation and stale content in the editor.
Country Blocking (Optional)
If your business serves clients only in specific countries, blocking regions where you receive no legitimate enquiries reduces the bot load on your server.
Go to Security → WAF → Custom Rules and add:
- Country is not IN: [list your target countries]
- Action: Managed Challenge
Use Managed Challenge rather than Block. Some visitors from blocked countries use VPNs and are entirely legitimate. A challenge screen filters bots without locking out real people.
Settings to Check Every 3 Months
Set a calendar reminder each quarter to review these:
- Security Events — Go to Security → Events. Check what Cloudflare blocked and verify legitimate visitors are not being challenged by mistake.
- Custom WAF rules — Review your rules. Confirm they are still relevant to your current site setup.
- Managed Ruleset updates — Cloudflare updates its managed rulesets regularly. Check whether new rulesets are available and relevant.
- Origin SSL certificate — Cloudflare renews its edge certificate automatically. Your hosting SSL certificate does not always auto-renew. Check the expiry date in your hosting control panel each quarter.
- Bot Analytics — Under Security → Bots. See the ratio of human vs. bot traffic on your site. A site with 60% bot traffic is processing requests with zero business value — use this data to tighten your WAF rules.
Frequently Asked Questions
Does Cloudflare slow down my website?
No. Cloudflare speeds up your site by serving static files from edge servers close to each visitor. The only scenario where Cloudflare slows a site is a misconfigured caching rule forcing every request back to your origin server. Full Strict SSL mode with correct cache settings speeds the site up, not down.
Do I need to pay for Cloudflare to block spam?
No. The free plan includes Bot Fight Mode, 5 custom WAF rules, and JS Challenge. These are enough to block the majority of comment spam and login attacks on a typical small business website.
Will Cloudflare block Google from crawling my site?
No. Cloudflare passes verified Google and Bing crawlers through automatically. The bots you block with custom WAF rules are separate from search engine crawlers. Googlebot is not affected by any rule in this guide.
What is the difference between Block and Managed Challenge?
Block returns an immediate error page and refuses the request. Managed Challenge shows a Cloudflare verification screen similar to a CAPTCHA. Use Managed Challenge when you are unsure whether some legitimate visitors might match the rule. Use Block when you are certain the traffic is malicious — as with the /xmlrpc.php rule above.
My form submissions stopped working after adding Cloudflare. Why?
The JS Challenge action requires JavaScript to be enabled in the visitor’s browser. If you applied a JS Challenge rule to a path handling form submissions, a small number of visitors without JavaScript will be blocked. Switch the action to Managed Challenge or narrow the rule to POST requests only.
Do these settings work for WooCommerce and Shopify?
For WooCommerce, apply the wp-admin cache bypass rule above and add a second Cache Rule: URL path contains /cart OR /checkout, Cache Status: Bypass. Cart and checkout pages must not be served from cache. For Shopify sites, Cloudflare is not typically used at the DNS proxy level because Shopify manages its own CDN. Confirm the correct setup with your web designer before making changes.
Every website we build at arulmjoseph.com ships with these Cloudflare settings in place. If you need help setting this up for your WordPress website or Shopify store, configuration is included in every website maintenance plan we offer. Get in touch and we will take care of it for you.